Quick Navigation
How to Register PanFone iOS Eraser Windows Version
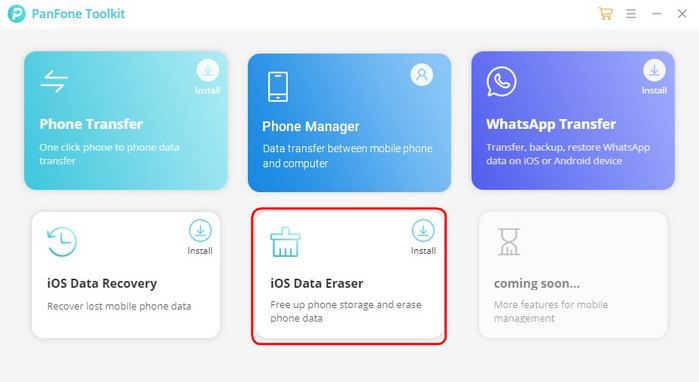
Step 1. On the start-up interface of PanFone Toolkit, please choose "iOS Data Eraser" to download PanFone iOS Eraser. After the installation, tap "iOS Data Eraser" again to launch it.
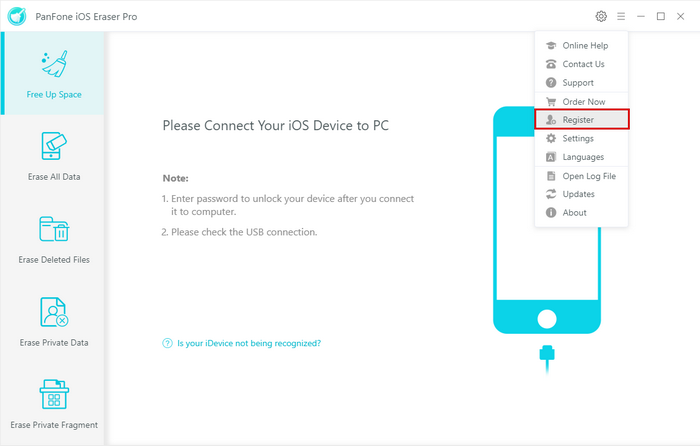
Step 2. Click menu button on the right corner of the program interface.
Step 3. Choose Register in the drop-down list when a prompt pops up.
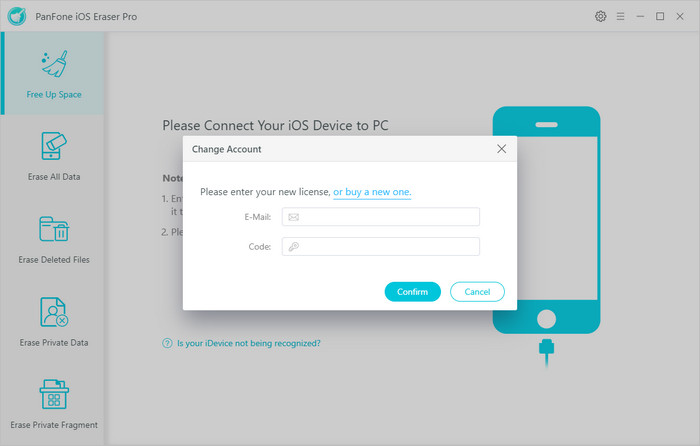
Step 4. Copy and paste the Email and Code into the registration popup dialog.
Note: The registration contents are case sensitive. Please do not add blank at the beginning or the end of the word. (000's are number "0"s, not letter "O"s)
Now, let's learn how to use PanFone iOS Eraser.
How to Free Up Space on Your iOS Device
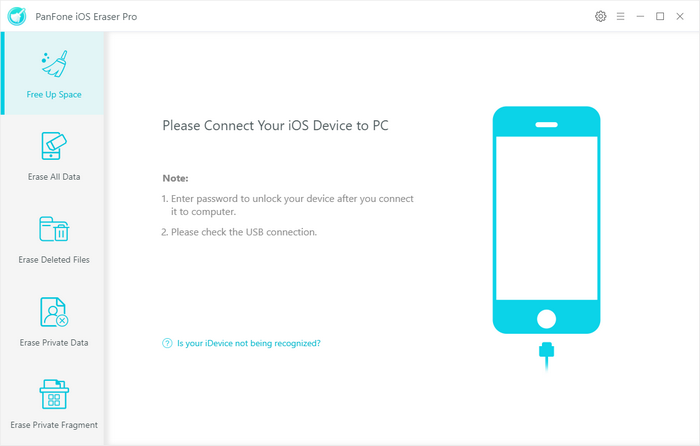
Step 1. Connect Your iOS Device to Computer
To start with, run the program and connect your iOS device (iPhone, iPad and iPod touch) to your computer via a USB cable. When your devices are connected and recognized by your program, your devices will show in the window as follow.
Step 2. Scan Your iOS Device
You can simply click on Quick Scan to do a full scan of your device, or you can click on each option including Junk files, Temp Files, Camera Roll, Photo Library, Large Files and Apps to scan.
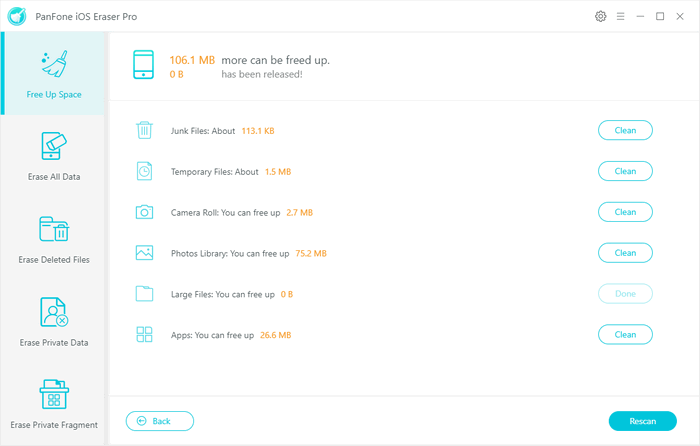
Step 3. Start to Clear the Data
After a while, PanFone will finish scanning your device and list scanning results on the panel. You can choose to clean your desired data to free up space on your device. Of course, you can go back to the last step or do a rescan.
How to Erase All Data on Your iOS Device
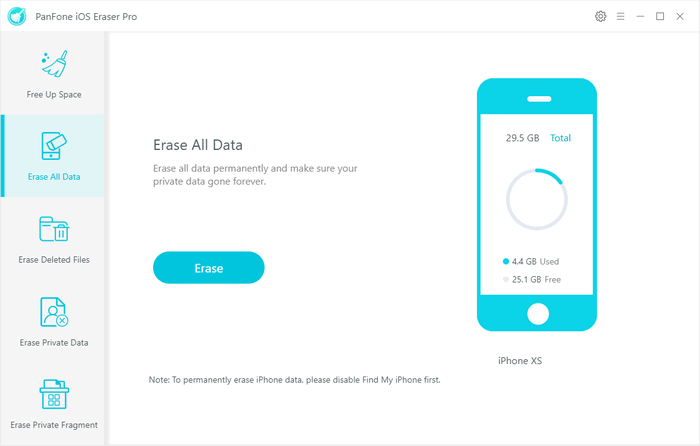
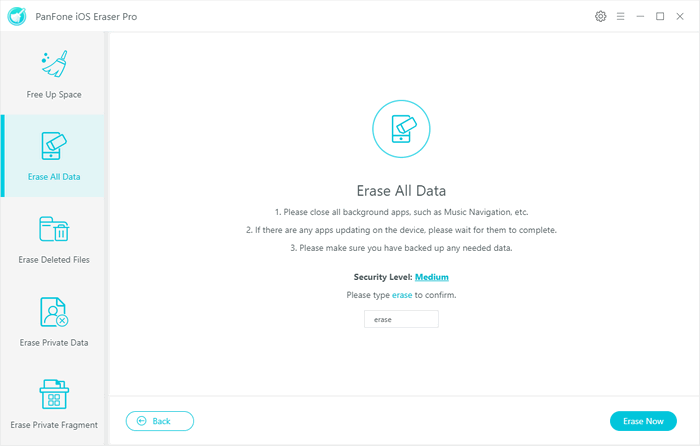
Firstly, run PanFone iOS Eraser and select Erase All Data mode on the main interface. Connect your iOS device to the computer with a USB cable, and simply click on the blue button Erase.
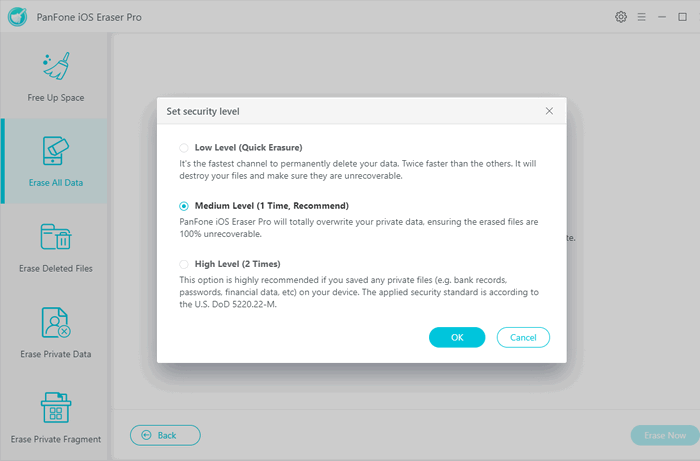
Read the 3 tips before erasing data, and you can select a security level. The default recommended level is Medium, and there are other two options: Low Level and High Level. Simply select your preferred one. To avoid you from erasing your data by mistake, you need to type the word Delete manually before erasing all data, enter the right characters, and click on Erase Now button.
How to Erase Deleted Files on Your iOS Device
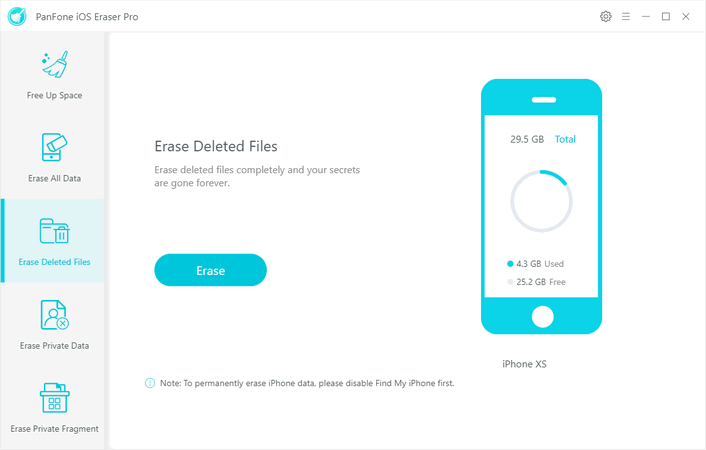
Step 1. Start by launching PanFone iOS Eraser and then select Erase Deleted Files mode on the main interface.
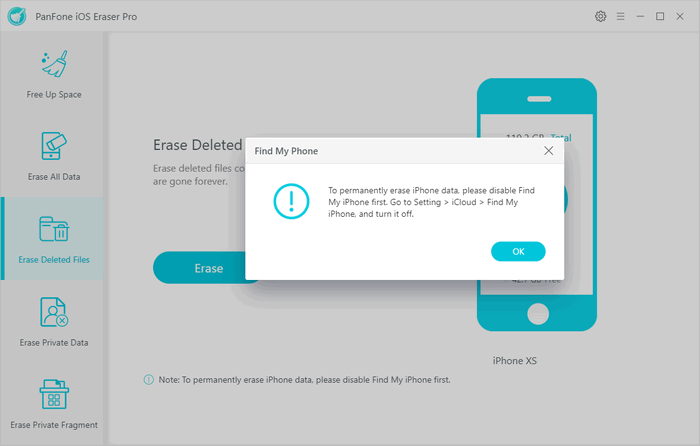
Step 2. Connect your iOS device to the computer with a USB cable, and simply click on the blue button Erase when you are required to disable Find My iPhone first. Go to Setting > iCloud > Find My iPhone and turn it off on your iOS device. It takes seconds to load the deleted data on your iOS device.
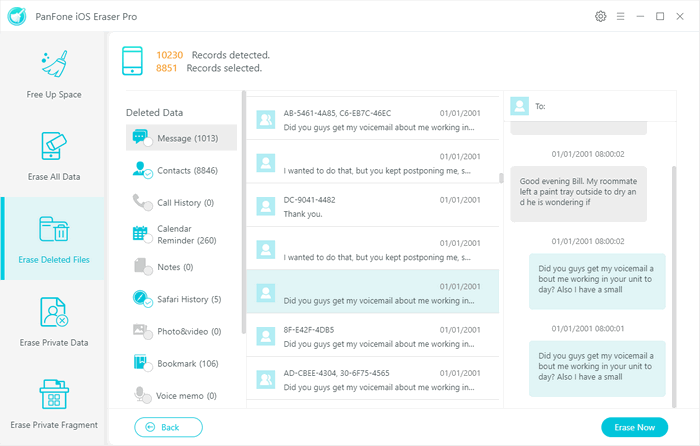
Step 3. Upon completely detected the records, you are supposed to selectively choose the detected items to permanently erase by tagging on Erase Now.
Items records having been detected include Messages, Contacts, Call History, Calendar and Reminder, Notes, Safari History, Photo & video, Bookmark, and Voice memo, etc.
How to Erase Private Data on Your iOS Device
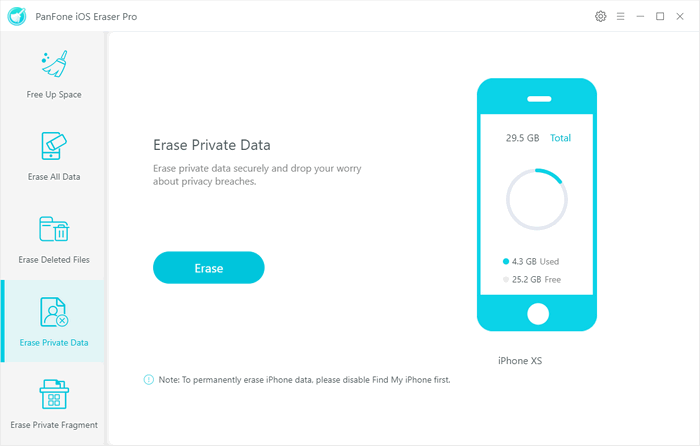
Step 1. Firstly, run PanFone iOS Eraser and select Erase Private Data mode on the main interface.
Step 2. Following is to link your iOS device to the computer via an appropriate USB cable for a stable connection, and simply click on the blue button Erase.
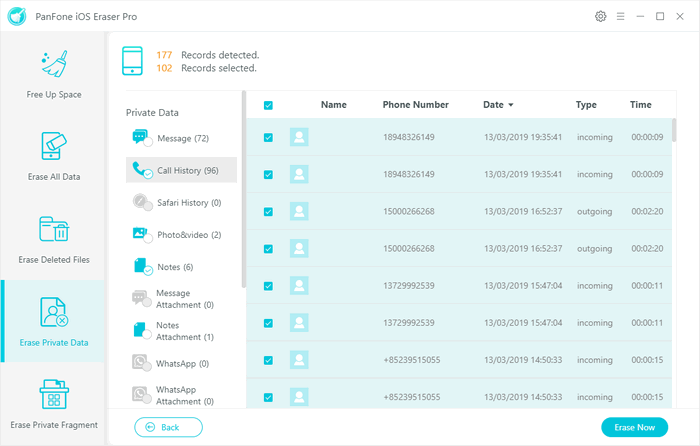
Step 3. Separated from loading the common data on your iOS devices, PanFone can smartly detect the private parts for your data security. After you selected the items going to be erased, please hit on the Erase Now and then 1-Click clear out the private records.
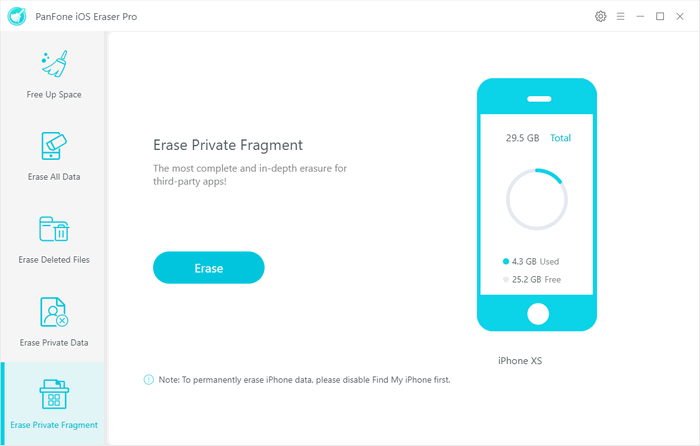
How to Erase Private Fragment on Your iOS Device
Step 1. Open PanFone iOS Eraser to reach mode Erase Private Fragment where you can make sure that your private data stays private and away from privacy leakage.
Step 2. As long as your iOS devices successfully connected to the program, you can directly click on the blue button Erase.
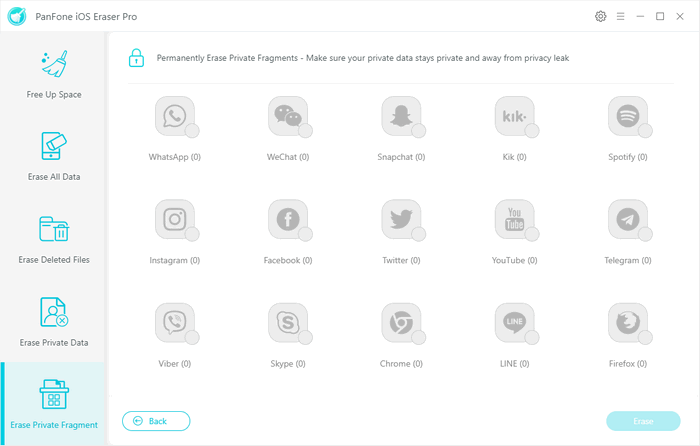
Step 3. Selectively choose the private fragment or multi-choice in one time and a final click on Erase to permanently delete them.